Plants
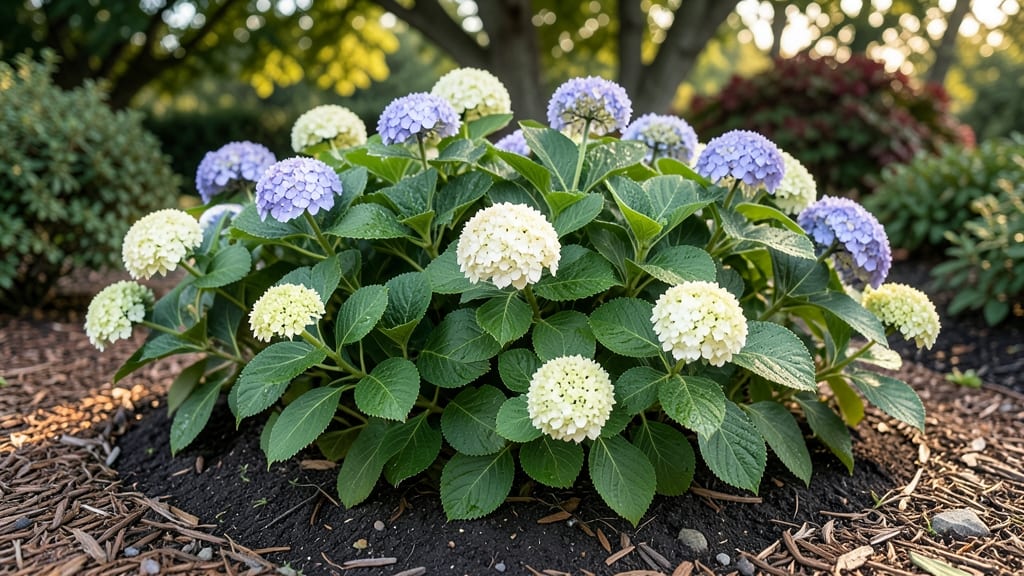
If you’ve ever wondered when can you plant hydrangeas in the ground, timing is the secret to vibrant blooms and healthy roots. These stunning 🌸 shrubs thrive when planted during their natural growth windows—early spring or fall—giving them the best chance to establish strong roots before harsh weather hits.
Planting too early risks exposing tender roots to frost, while waiting too late can leave your hydrangea struggling in summer heat. I’ll break down the ideal windows for your USDA Zone 6a (and beyond), so you can avoid common mistakes and set your plant up for success from day one.
Whether you’re transplanting bare-root or container-grown hydrangeas, the right season makes all the difference. You’ll learn how to prep your soil, recognize signs of stress, and adjust for your climate—so your hydrangeas grow lush and full of color year after year.
Let’s dive into the best times to plant, plus pro tips to keep your hydrangeas thriving no matter what the season brings.
Best times to plant hydrangeas in the ground: spring vs fall breakdown
Planting hydrangeas at the right time ensures strong root growth and vibrant blooms. The ideal windows are early spring (just before new growth starts) or fall (6-8 weeks before frost). These periods give roots time to establish before extreme heat or cold sets in.
For most USDA zones 5-9, spring planting works best in March or April, while fall planting should happen in September or October. In warmer zones (like 10-11), plant in winter months to avoid summer heat stress.
Hydrangeas are semi-hardy perennials, meaning they can handle some cold but need time to adapt. Planting too early in spring risks frost damage, while planting too late in fall leaves roots vulnerable to winter chill.
Your local last frost date is critical—aim to plant 2-4 weeks before it in spring or 6-8 weeks before the first frost in fall. Check your USDA zone for precise timing.
Container-grown hydrangeas can be planted slightly later than bare-root varieties, as their roots are already established. However, they still need time to acclimate before dormancy or summer heat arrives.
Let’s compare the two best seasons side-by-side to help you decide which works best for your climate and garden schedule.
Spring planting gives hydrangeas the entire growing season to establish roots before summer heat arrives. This is especially important in southern climates where summers can be brutal. In cooler northern zones, fall planting is often preferred because it allows roots to settle before winter dormancy.
If you live in USDA zone 10 or warmer, avoid planting in summer—hydrangeas hate heat stress. Instead, plant in winter months (December-February) when temperatures are mild and consistent.
For container-grown hydrangeas, you have slightly more flexibility. These plants can be transplanted almost year-round, but still aim for cooler months to reduce transplant shock. Always water deeply after planting to help roots adjust.
Pro tip: If you miss the ideal window, don’t panic! Hydrangeas are resilient. Just amend the soil with compost, mulch heavily, and water consistently to give them the best shot at recovery.
🌸
How to prepare your garden for hydrangea planting by season
Preparing your garden properly is just as important as choosing the right planting time for your hydrangeas. Start by testing your soil pH, which should be between 5.2 and 6.0 for optimal bloom color.
Hydrangeas are acid-loving plants, so if your soil is too alkaline, amend it with sulfur or peat moss to lower the pH gradually.
Next, focus on well-draining soil. Hydrangeas hate soggy roots, so avoid planting in low-lying areas where water pools. If your soil is heavy clay, mix in compost or sand to improve drainage.
A simple percolation test—dig a hole, fill it with water, and see how quickly it drains—can save you from future root rot.
For spring planting, prepare the soil 4-6 weeks ahead of your target date. Work in organic matter like compost or aged manure to give roots a nutrient boost.
In fall planting, focus on mulching to protect roots from winter chill. A 3-inch layer of mulch around the base keeps soil temperatures stable.
- 1 Test Soil pH – Use a kit or send a sample to your local extension office. Aim for 5.2-6.0.
- 2 Amend Soil – Mix in compost or peat moss for acidity. Add sand if soil is too dense.
- 3 Choose Location – Pick a spot with partial shade (4-6 hours of sun). Avoid harsh afternoon sun.
- 4 Dig Hole – Make it twice as wide as the root ball but no deeper. Loosen sides for easy root spread.
- 5 Water Before Planting – Soak the root ball (or bare roots) for 10-15 minutes to reduce transplant shock.
- 6 Mulch Heavily – Apply 3 inches of mulch (wood chips or straw) to retain moisture and regulate temperature.
When planting bare-root hydrangeas, soak the roots for 1-2 hours before placing them in the hole. Gently spread roots outward to encourage a wide root system. For container-grown plants, remove the pot and tease the edges of the root ball to prevent circling roots.
After planting, water deeply to eliminate air pockets and help roots settle. A slow drip system works best—avoid blasting water, which can displace soil. In hot climates, provide afternoon shade with a lightweight fabric cover for the first few weeks to reduce stress.
Finally, avoid fertilizing immediately after planting. Wait 4-6 weeks to let roots recover, then apply a balanced fertilizer (10-10-10) in early spring or late fall. This timing prevents nutrient burn and supports steady growth.
🌿