Plants
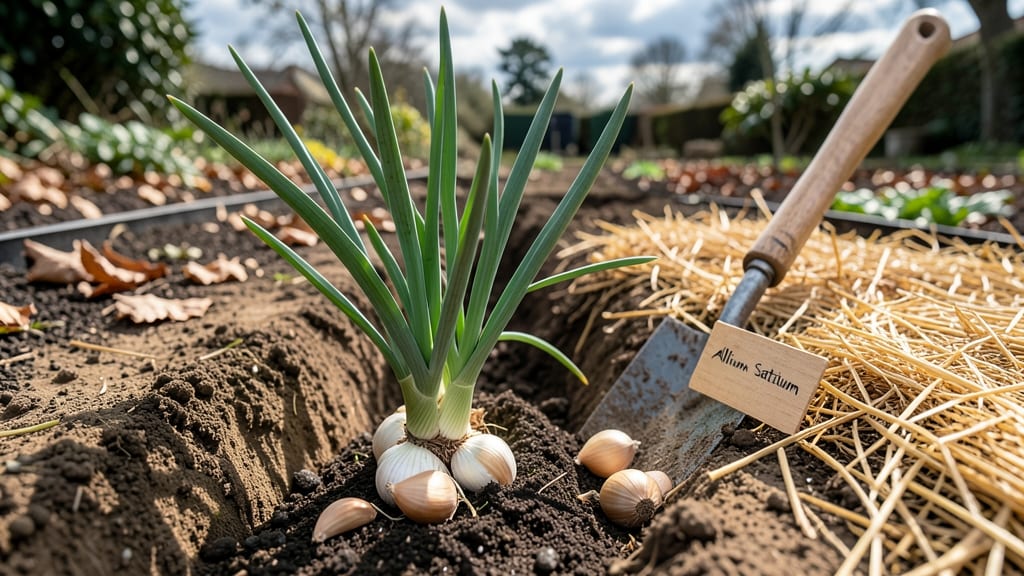
If you're growing 🧄 garlic in Zone 4b, timing your fall planting is the single most important factor for big, flavorful bulbs—or watching your crop fail before it even starts.
The difference between a thriving harvest and a wasted effort often comes down to those crisp October days when soil temperatures drop just right.
Most gardeners in cold climates like 4b assume garlic can handle any fall planting, but the truth is far more precise. Plant too early, and your cloves might sprout before winter sets in.
Too late, and frost locks them out of establishing the roots they need to survive. I’ve seen both mistakes firsthand—and the results aren’t pretty.
Here’s what you need to know: the 6-week window before your first hard frost is your golden opportunity. That’s typically mid-October to early November in 4b, but soil temperature (not just calendar dates) is the real game-changer.
Let me walk you through how to nail this window every time, from soil prep to protecting your crop through winter.
Whether you’re using cloves or seed garlic, these practical steps will give you the confidence to plant at the perfect moment—so you’re harvesting plump, papery-skinned bulbs next summer instead of struggling with weak, moldy harvests. Let’s get started.
Optimal fall planting window for garlic in Zone 4B
In Zone 4B, timing your garlic planting is all about catching that sweet spot between soil warmth and frost arrival. The ideal window is 6-8 weeks before the ground freezes, typically mid-October to early November.
This gives garlic enough time to establish roots before winter dormancy. Think of it like planting potatoes—too early, and your crop may rot; too late, and you’ll miss the magic of winter chilling.
Here’s the golden rule: aim for soil temperatures between 40°F and 50°F at planting time. Use a soil thermometer to check—if temps drop below 40°F, your cloves won’t root properly. In Zone 4B, this usually aligns with late October, but early frosts can push it to mid-October.
Pay attention to your local frost date forecasts—they’re your best friend for nailing this timing.
Why does this window matter? Garlic needs vernalization, a cold period to trigger bulb formation. Planting too late means less chilling time, resulting in smaller, weaker bulbs.
Conversely, planting too early exposes cloves to excessive moisture and rot risk before roots establish. Balance is key, and Zone 4B’s short growing season demands precision.
If you’re unsure about your exact frost date, use this backup method: plant when your chives or onions (both alliums) are starting to slow down in growth. Their behavior mirrors garlic’s needs.
Pro tip: Hardneck varieties (like Music or German Red) handle Zone 4B’s cold better than softnecks, so they’re my top recommendation for this climate.
Adjusting for early or late frosts is where local knowledge shines. If your area tends to freeze by late October, plant by mid-October. Conversely, if you’ve got a mild microclimate (like a south-facing slope), you might push planting to early November.
Always err on the earlier side—garlic roots are resilient once established, but they won’t survive if frozen before they take hold.
Don’t overlook moon planting phases either! While not scientifically proven, many Zone 4B gardeners swear by planting garlic during the waxing moon (when roots grow stronger). Pair this with your frost date, and you’ve got a double insurance policy for success.
For example, if the waxing moon peaks on October 20th and your frost date is November 15th, aim for October 10th–15th.
One more pro tip: Test your soil’s drainage before planting. Garlic hates soggy soil, especially in Zone 4B’s wet springs. Amend heavy clay with compost or sand to ensure roots stay happy.
A simple percolation test (pouring water into a hole and timing drainage) will save you from rotten cloves. Aim for drainage that takes 4–6 hours—any slower, and you’ve got a problem.
Finally, mark your planting date on a calendar with your harvest date (next July–August). This visual reminder keeps you on track for soil prep and mulching in late fall. Zone 4B’s short season means every day counts—don’t let your garlic harvest slip through the cracks!
With this timing down pat, you’re set for plump, flavorful bulbs that’ll make your kitchen the envy of the neighborhood. Happy planting—your future garlic feasts are waiting! 🧄
How to time your garlic planting for maximum bulb size
Once you’ve nailed the fall planting window, the next step is ensuring your garlic gets everything it needs to develop large, flavorful bulbs. The key lies in clove selection, soil preparation, and protecting those roots during winter.
I’ve learned that even the perfect timing won’t guarantee success without these critical steps—so let’s dive into the details that make the difference between small, weak bulbs and showstopping harvests.
Start by choosing medium-sized cloves (½–¾ inch) from hardneck varieties like Rocambole or German White. These varieties thrive in Zone 4B’s cold winters and produce larger bulbs with more cloves.
Avoid tiny cloves—they’ll grow into small bulbs, and skip the largest ones too, as they often produce multiple shoots instead of a single strong bulb. Break apart your garlic bulb carefully, ensuring each clove has its papery skin intact—this protects against rot and disease.
Before planting, prepare your soil with a 2–3 inch layer of compost mixed into the top 6 inches. Garlic loves well-draining, slightly acidic soil (pH 6.0–7.0).
If your soil is heavy clay, mix in sand or perlite to improve drainage—this is especially important in Zone 4B, where wet springs can lead to rotten cloves. A quick soil test will tell you if you need to adjust pH or add organic matter.
I always test mine in early fall so I’m ready to amend before planting.
- ✅ Plant cloves 2 inches deep, pointed end up, with 4–6 inches between rows to prevent crowding.
- ✅ Mulch heavily (4–6 inches) with straw or leaves after planting to insulate roots from winter temperature swings.
- ✅ Water deeply after planting, then reduce watering in winter to prevent rot—aim for 1 inch per week in fall and spring.
- ✅ Remove mulch in early spring (March) to encourage rapid growth as soil warms.
- ✅ Side-dress with compost in April to fuel bulb development without promoting excessive foliage.
Mulching is non-negotiable in Zone 4B. After planting, cover your garlic bed with 4–6 inches of straw or leaves to protect roots from freeze-thaw cycles and soil heaving. This insulation also keeps soil temps stable, which is critical for vernalization—the cold period that triggers bulb formation. In my garden, I’ve seen mulched garlic produce bulbs 30% larger than unmulched beds. Just
The vernalization process is what turns your garlic from a simple clove into a plump, papery-skinned bulb. During winter, garlic undergoes a cold dormancy period that signals it’s time to shift energy from roots to bulb development. In Zone 4B, this happens naturally, but you can give your garlic a head start by choosing varieties with strong cold tolerance. For example, Music garlic thrives in our climate and produces bold, flavorful bulbs with minimal fuss.
Watering is another often-overlooked factor. After planting, give your garlic a deep watering to settle the soil, but then reduce frequency in winter. Overwatering in cold months leads to rot and mold, while underwatering stresses the plant.
Aim for 1 inch of water per week in fall and spring, and let the soil dry slightly between waterings in winter. A drip irrigation system set on a timer makes this easy—just set it to run for 10–15 minutes every 10–14 days once the ground freezes.
Finally, resist the urge to fertilize in spring. Garlic doesn’t need much nitrogen once it’s established—too much will produce leafy growth at the expense of bulb size. Instead, side-dress with compost in early April to provide slow-release nutrients.
This timing ensures your garlic focuses on bulb development rather than foliage. By mid-summer, you’ll be harvesting beautiful, full-sized bulbs that’ll make your kitchen the talk of the neighborhood. 🧄